
I’ll be the first to admit that I am a staunch critic of VPNs. I think they’re oversold and pointless. Despite that I still use a VPN when I analyze malware. I use a VPN because when I’m clicking on phishing links and running malware, I don’t want my real IP to be reported back to the C2 node. Now I could manually install my privacy VPN (PIA) on each analysis machine, or I could route through pfSense.
There are a lot of tutorials online about setting up PIA on pfSense, including a guide from Private Internet Access themselves; however, these guides generally discuss routing the entire network over the VPN. I didn’t want to route my entire network over a VPN, and neither do you really, as it causes a lot of problems overall. Due to the GeoLocation bypassing capabilities of VPNs, they are against the terms of service for a of different services; Netflix won’t let you watch shows, Steam can VAC ban you, increased latency in games can cause problems including bans in some games (like Blizzard), some websites will straight block you, etc.
Because of that I set up my pfSense to route only one VLAN over PIA and leave the rest of my network traveling over my ISP network normally.
Import the PIA Cert
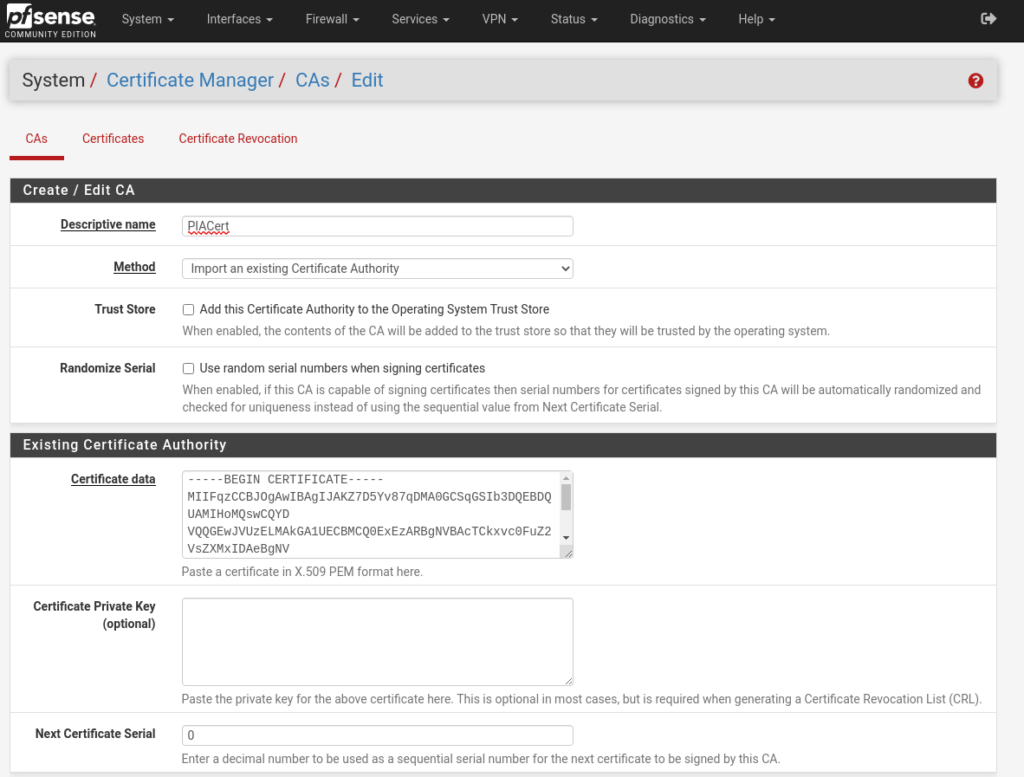
The first step to setting this all up is to import the PIA VPN cert into pfsense. To do this navigate to: system -> cert. Manager. From there click add to enter a new cert.
Copy and paste the certificate from the PIA OVPN cert into the field, give it a descriptive name, and save.
NOTE: You need to include the —–BEGIN CERTIFICATE—– and —–END CERTIFICATE—–
Add the VPN
Next up go to VPN -> OpenVPN -> Clients -> Add
This is where we’re going to make the bulk of our configurations so I’ll list them out here:
- Description: Whatever you want
- Server Mode: Peer to Peer (SSL/TLS)
- Device Mode: Tun (Layer 3 Tunnel Mode)
- Protocol: UDP on IPv4 Only (PIA does not support IPv6 currently)
- Server Host or Address: Put in the address from the VPN cert you downloaded earlier here. For mine it’s us-texas.privacy.network
- Server Port: 1198 (make sure you change this so it’s not the default 1194)
- Username:
- Password:
- TLS Configuration: Uncheck this
- Peer Cert Authority: Use the Cert you created earlier.
- Data Encryption Algorithms: Use the ones specific for your cert. For the certs I linked it should be AES-128-CBC
- Fallback Data Encryption Algorithm: AES-128-CBC
- Auth digest algorithm: SHA1 (160 Bit)
- Allow Compression: Compress Packets
- Compression: Adaptive LZO
- Topology: net30
- Don’t pull routes: Check
- Don’t add/remove routes: Check (This one, and the one above it are important to have checked. With these disabled the router will attempt to route everything over the VPN which will lead to your VLAN having traffic but nothing else).
- Custom options:
persist-key
persist-tun
remote-cert-tls server
reneg-sec 0
auth-retry interact
dhcp-option DNS 10.0.0.241
dhcp-option DNS 10.0.0.243
- Gateway creation: IPv4 Only
Ok, to that was the hard bit, now that all of that is configured it’s time to route this traffic.
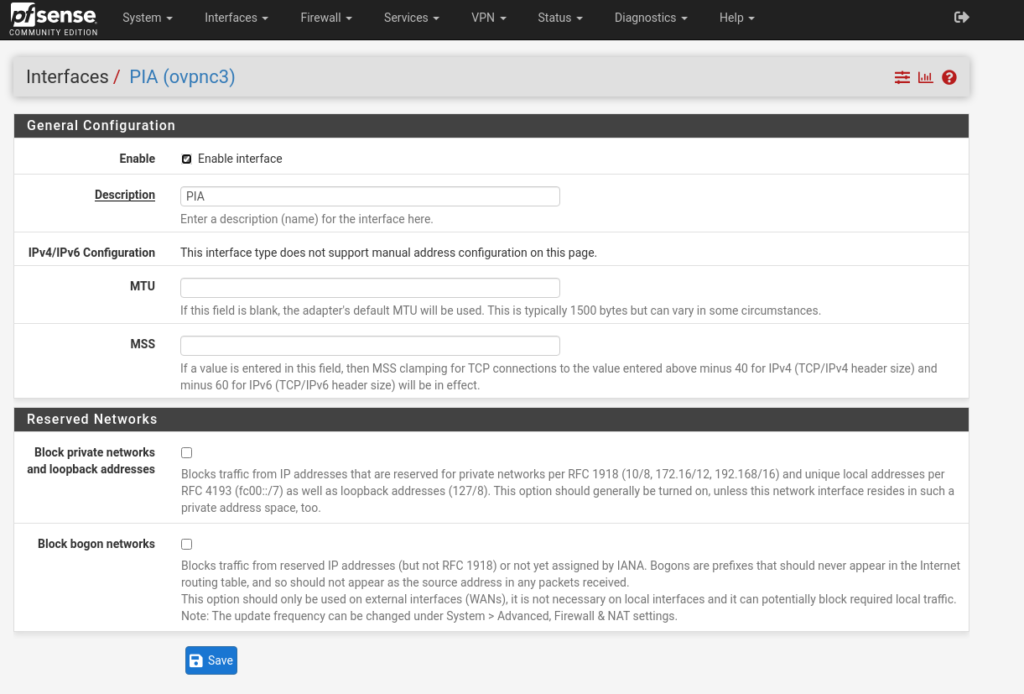
Create an interface for the traffic
Go to Interfaces -> Assignments and add a new interface for your newly created OpenVPN.
Add Routing Rules
Now that we have our Interface for this traffic we need to make some routing rules. Go to Firewall -> NAT -> Outbound and check the hybrid box. Click add and now we’re going to make some changes.
- Interface: The New Interface you just creates
- Address Family: IPv4 + IPv6
- Protocol: Any
- Source: Network [Set the IP address/CIDR of your VLAN].
- Destination: Any
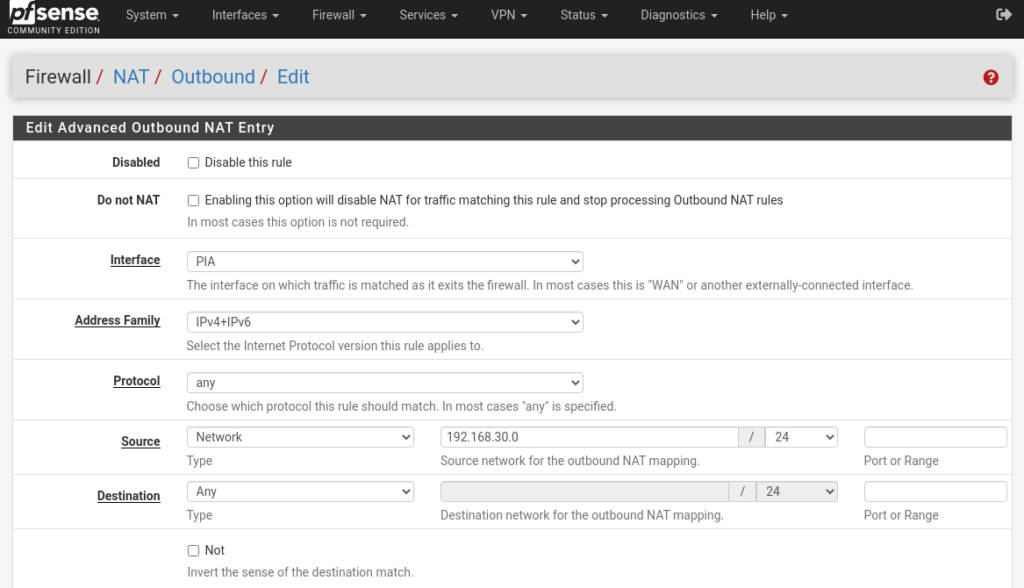
Save this and next we’ll add in firewall rules.
Firewall rules
Like everything else in pfSense a new interface cannot route traffic without a firewall explicitly allowing it to. In your Firewall VLAN rules add an allow all rule and go into the advanced settings. In the advanced settings go to the gateway setting and tell it to use the newly created VPN interface.

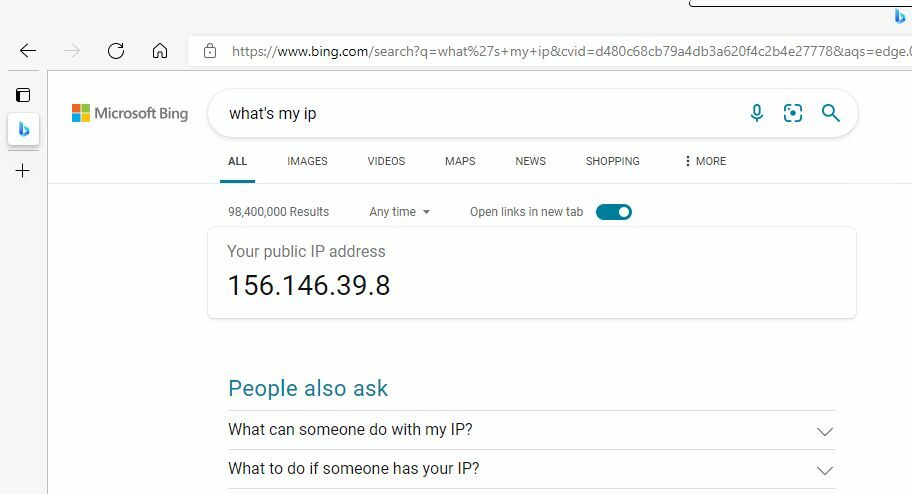
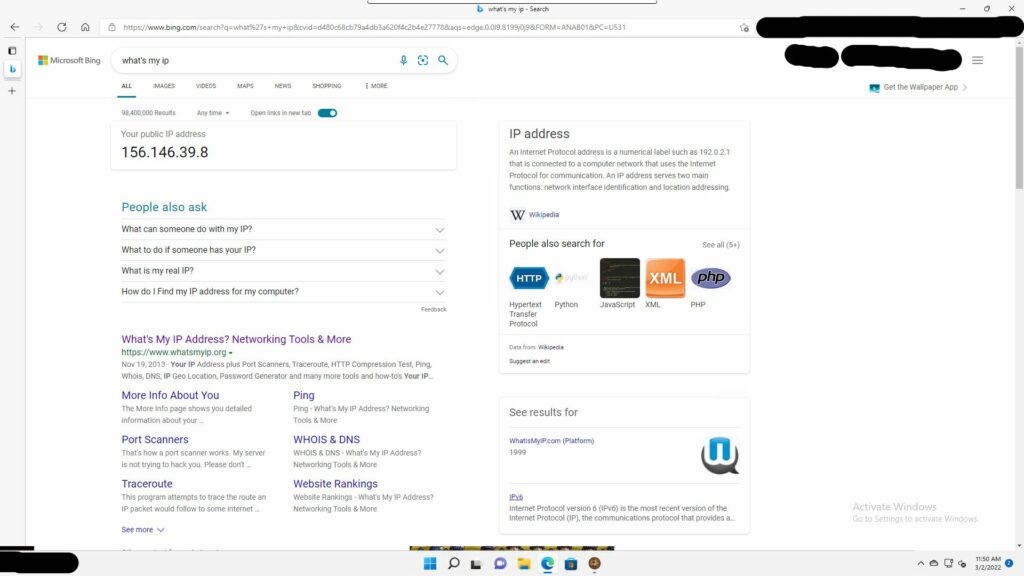
Now you can go to a device on that subnet and test your IP. If everything worked correctly then that IP should belong to PIA.
Conclusion
This took me way longer to set up than I had intended because I was missing the interface section. I got it set up so that either all traffic was routed over the VPN or no Traffic was. Hopefully this helps others who are looking to route specific subnets.