Intro
Everyone so often on the r/pihole subreddit you’ll see someone posting about how they discovered an admin interface in the wild, or there will be someone asking how they can make their Pihole interface HTTPS. A quick search on Shodan shows 260 IP addresses with a Pihole admin interface exposed. This is generally bad practice for a few reasons.
- Most of the time when the admin interface is exposed it’s because the entire Pihole is exposed
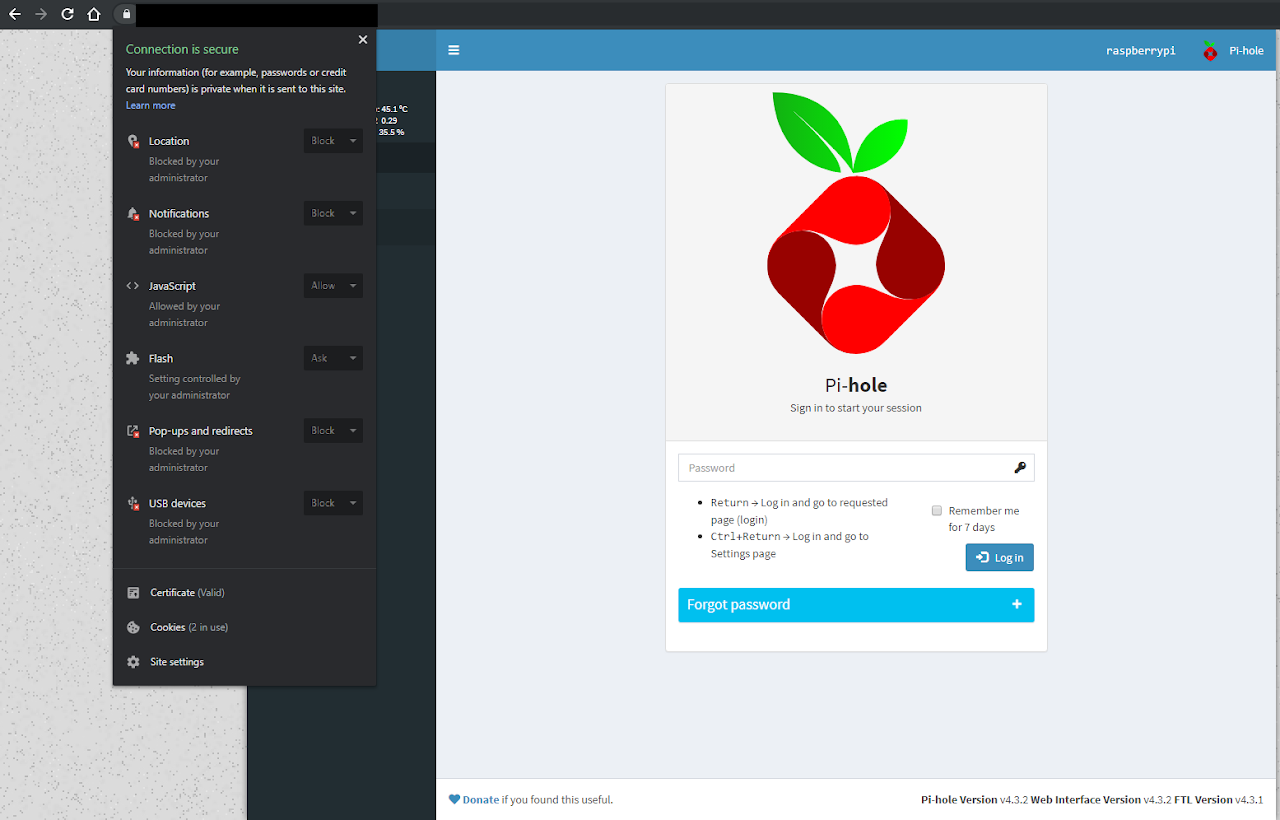
- Default PiHole uses port 80 for it’s admin interface. Port 80 is plaintext so accessing your pihole remotely opens you up to password snooping.
- a
The purpose of this article is going to provide a guide for how to open your Pihole admin interface to the world in a secure manner. Sure you could just simply port forward 80:80 but that doesn’t solve the need for HTTPS.
Requirements
The requirements for this are actually pretty light.
- A computer that will run Pihole.
- For this walk through I used a RPI4 with 4GB of RAM but it also works with the RPI3. I haven’t tested it with a RPI:Zero. My Gut reaction would be that it should work but I wouldn’t recommend it.
9 July 2021 Update: I received an email from a reader, Tristan, who informed me that it does work and provided steps to get this working. Thanks Tristan!
- Access to the RPI
- Either physical or SSH works.
That’s all the hardware specifications we’ll be using for this guide.
The Software specs are:
- PiHole
- Docker
- Portainer
- Linuxserver/Letsencrypt Docker container
- Linuxserver/DuckDNS Docker container
- Unattended-upgrades
It’s really not that much stuff.
Set up and secure Pihole
Before we expose anything to the internet we need to set up and secure our Pihole.
sudo apt update && sudo apt upgrade -yIt’s always important to start with a properly updated system.
curl -sSL https://install.pi-hole.net | bashThat will get the pihole installed for you if you don’t have it installed already.
sudo apt install unattended-upgrades apt-listchanges -yThis will install the unattended-upgrades to make sure all your software stays up-to-date
I’ve been informed that this doesn’t work for Pihole right now because Pihole doesn’t store access logs. So you’re best bet if you really want to expose the admin interface is to use a complex long password. I would recommend a password manager like Bitwarden to create a long unique password.
Set up Docker and Portainer
For the rest of this we’re going to be using Docker to install the necessary containers for the reverse proxy.
sudo apt install dockersudo docker volume create portainer_data
sudo docker pull portainer/portainer
sudo docker run -d -p 9000:9000 -p 8000:8000 --name portainer --restart always -v /var/run/docker.sock:/var/run/docker.sock -v portainer_data:/data portainer/portainerThat should install relatively painlessly.
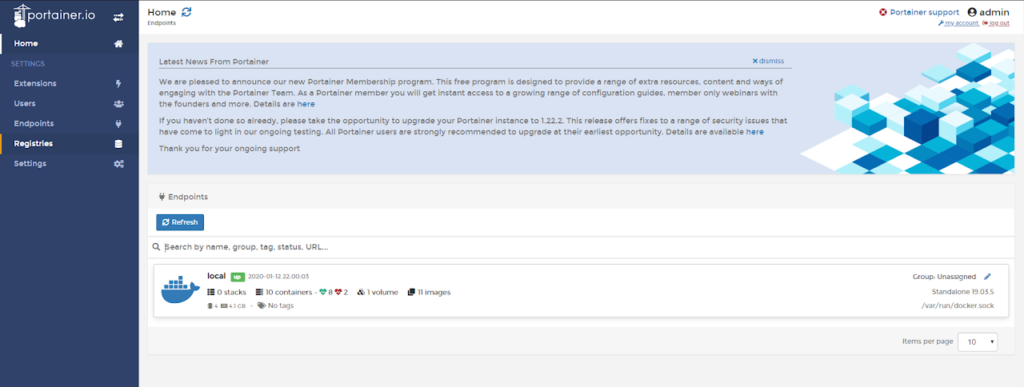
Personally I don’t like working with Docker via command line. I prefer to use a gui to control Docker and my personal favorite is Portainer. If you’re a big fan of Docker run, or Docker compose you can skip this step completely
These two commands will get you a Portainer gui at http://piholeip:9000
We’ll be handling all of the rest of our Docker configurations through Portainer.
Portainer creates a wonderful GUI where you can manage everything like this:
Set up DuckDNS
I would guess that on average the majority of people running a Pihole are doing so from inside thier house, and I would further guess that the majority of all the people running Pihole at their house are also not on a static IP address from their ISP. Most ISPs will rotate consumer IP addresses periodically so we need to make sure we can always access our Pihole even when our IP address changes.
To do this we need a Dynamic DNS service that will constantly link our chosen domain name to an IP address. Some routers will have this built in and if yours does than just turn that on and skip this section. If your router doesn’t support Dynamic DNS by deafualt then we need to make one.
Thankfully DuckDns offers this service to us for free. Once you make an account DuckDNS will give you instructions on creating a CRON job to do their updater, which you can do or you can set up a docker container using Portainer.
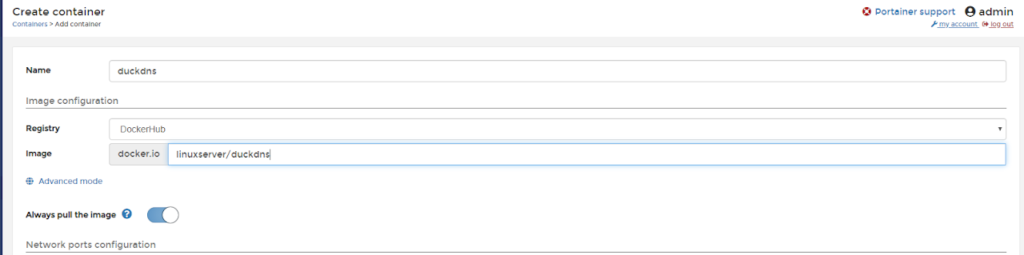
Portainer set up
I’ll be using mostly pictures for this set up because it’ll be easier
Step 1: Create a new container

Step 3: Map the volumes. If the path doesn’t exist Docker will create it for you.

Step 4: Set the environmental variables
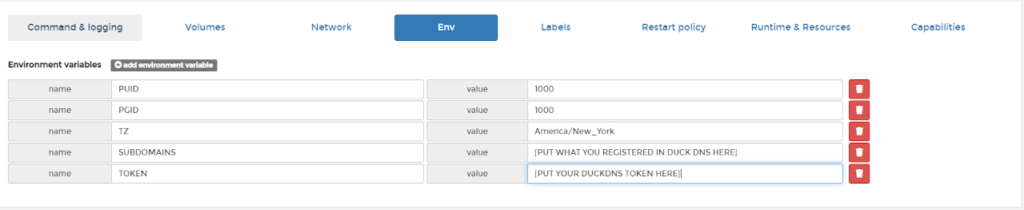
Let’s cover what these variables are before we continue:
- PUID is the userid that will be running the process. On the RPI 1000 is the default UID for the user pi
- PGID is the groupid that will be running the process. Again the default group ID is 1000
- TZ is your time zone. This is important for log rotation but ultimately doesn’t matter. You can really set this to whatever timezone you want.
- The last two are self explanitory. You picked a domain when you registered DuckDNS and it gives you a token. Put those two here.
Step 5: Set restart policy


After a minute or so the container should deploy and you’ll be able to ping your domain name to verify that it’s all working properly.

Setting up Letsencrypt
You now have pihole, unattended upgrades, and fail2ban set up, and you have dynamic domain name. In theory you could port forward from your router right now and access your Pihole interface but we’d still be on port 80 so your credentials would be sent in plain text for anyone snopping on the wifi you’re using. So the next step is to set up our reverse proxy with Letsencrypt.
The same way we set up DuckDNS we’ll also be setting up Letsencrypt with Portainer; however before we go further you need to port forward a bit or letsencrypt will fail. Login to your router and forward port 80 to port 81 and 443 to 444 with the desitnation being your raspberry pi. I would give you instructions for this but it differs wildly for every router.
You migh be asking “why are we forwarding port 80 to port 81 and 443 to 444 that doesn’t make sense”. It will soon, but let me show you a diagram of what we’re doing. Since Pihole is already using port 80 we can’t have the letsencrypt container listen on port 80 as well.
So here’s what you need to do:
- External Port: Internal Port
- 80:81
- 443:444
Setting up with Portainer
If you did the steps above to forward the ports then the next thing we need to do is set up the letsencrypt portainer.
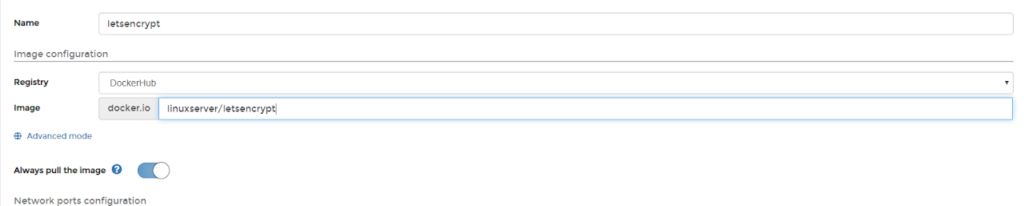
9 July 2021 UPDATE: Due to some copy right issues the docker container “Letsencrypt” was renamed to SWAG. The set-up instructions are the same but now instead of using linuxserver/letsencrypt you use linuxserver/swag.
YOU MUST HAVE THE PORTS FORWARDED OR THIS WILL FAIL
Step 1: Pick the image. Same as the last time
Step 2: Select ports. Right below that you’ll need to hit the button that says “Publish a new port” twice

Step 3: Set your environmental variable
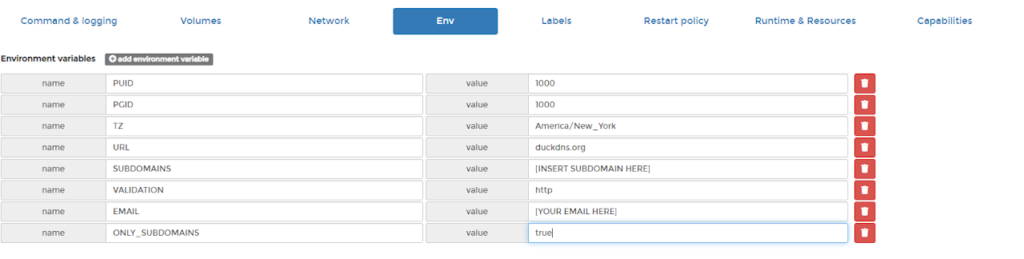
Let’s go through these again. I’m going to skip the first three because we talked about them earlier.
- URL: This is the main domain you’ll be getting a cert for
- Subdomain: This is the subdomain you registered with DuckDNS
- Validation: This is how Letsencrypt is going to try to validate that you actually control the domain you’re trying to register. The container will make a small landing page that Letsencrypt will attempt to reach. This is why you need to port forward before you deploy the container. If the CA can’t reach your landing page it will fail and not issue you the cert.
- Email: Letsencrypt will attempt to autorenew the certs for you but if something goes wrong then they will send you an email and let you know you need to renew.
- Only_Subdomains: This is also important otherwise letsencrypt will attempt to issue a certificate for DuckDNS as a whole. In addition to DuckDNS probably getting mad at you for this it will fail.
Step 4: Set the volumes. Again Docker will make the folders if they don’t exist.

Step 5: Set restart policy

Step 6: Deploy the container and wait. This will take a long time.
Go back to your command line and type in
sudo docker logs -f letsencryptLetsencrypt is going to try and do a lot of math with really really large prime numbers. It will take a long time. It took me close to an hour on my RPI4 with 4GB RAM. It will take even longer on the RPI3.
When you finally see success you can move on.
Pi-Zero update
9 July 2021 UPDATE: Reader Tristan pointed out that the Letsencrypt docker image only supports ARMv7 and up, but the Pi-Zero is ARMv6. For this Tristan confirmed that linuxserver/letsecrypt:0.32.0-ls12 works.
Configuring NGINX
9 Jul 2021 UPDATE: This section has been updated to fix file pathing.
This next part should be pretty simple you’ll be making one small change to a configuration file.
sudo cp /home/pi/appdata/letsencrypt/nginx/proxy-confs/pihole.subdomain.conf.sample /home/pi/appdata/letsencrypt/nginx/proxy-confs/pihole.subdomain.confInside of proxy-conf folder are several preconfigured proxy files for several different popular applications. Now we need to modify the file.
sudo nano /home/pi/appdata/letsencrypt/nginx/proxy-confs/pihole.subdomain.confOn line 7 you should see:
server_name pihole.*;Replace [pihole] with the subdomain you registed with DuckDNS.
Next find line 28
proxy_pass http://$upstream_pihole:80;and replace $upstream_pihole with the IP address of your pihole.
proxy_pass http://piholeip:80/admin;Finally find line 44
proxy_pass http://$upstream_pihole:80;and replace the $upstream_pihole with the IP address of your pihole.
proxy_pass http://piholeip:80/admin;Hit Crtl+x and then Y to save the file and go back to Portainer.
Find your letsencrypt container and restart it. It should only take a minute this time.
Conclusion
In your webbrowser type in the domain you registed with duckdns and add /admin to the end of it ([subdomain].duckdns.org/admin) and you should now be accessing your Pihole’s admin interface with HTTPS

9 July 2021 Update: Like some of the readers in the comments I was uncomfortable with the single layer of protection here, relying solely on a strong password, so I wrote two more articles on how to make this more secure.